


Now, this feature release may not knock your socks off… but you need to understand it if you want to make the most of the features we’re currently working on. And trust us, you’re going to want to do that.
Think of it like flour. No, not spelt or hemp or gluten-free flour. Plain white flour. On its own, a little bit underwhelming. But it’s the building block for cakes, cookies and all kinds of delectable treats.
So please, bear with us, because this feature release is going to make your life a whole lot easier.
We’ll keep it short and sweet.
Groups… of users?
Yes, User Groups are essentially a reference to a group of users.
On their own, these groups don’t do anything. They’re simply a convenient way to refer to a group of users in Rex: think Admin, Teneriffe Agents or Front of House.
Before anyone gets confused, we’d like to clear something up: Rex’s new User Groups feature is not the same as Permission Groups.
In Rex, we use Permission Groups to help people share their rights on records with other users in Rex. For example if Adam is in a Permission Group with Sandy, they’ll both have view and edit access to each-other’s contacts
What Permission Groups won’t do is help you group users for any other purpose in Rex.
That’s where User Groups come in. This functionality is going to help you with a lot of cool stuff as we roll out new features. For now, you can use it for two simple things: Reporting and Filtering.
1. Reporting
Reporting Categories are out - we’ve replaced them with User Groups.
Any Reporting Categories you had set up in Rex (that had at least one user in them) have been migrated into User Groups with the same name, with one exception: the Sales Consultant reporting category is now a User Group called Sales.
When you Set Report Options for any report in Rex, you’ll notice the Limit to Reporting Categories field has been replaced with the Limit to User Groups field.
That’s about all you need to know for now.
2. Filtering
Anywhere you could filter by User, you can now filter by User Group using Advanced Filters.
How could this be useful? Say you work in a large office that works across Brisbane’s Metro West - but the agents within your office all have their own areas. You could set up User Groups for your Bellbowrie Agents, Chapel Hill Agents, Chelmer Agents… you get the gist. Then you could use the new filtering functionality to only see the listing records owned by the Bellbowrie Agents.
Let's walk you through setting up for this scenario:
Navigate to your current listings, click Filter listings, then the Advanced button.
From here, you’d add the criteria: Record Meta - Owning User - is any of - Bellbowrie Agents.
Click Filter, and you’ll see a list of all listing records owned by the users in that group. Pretty neat, right?
You can save that filter and share it publicly, as you previously could. But we’ve taken it one step further.
You can now share that saved filter with a particular User Group, so everyone in that group can use it. This is useful to cut down on filter clutter. Your agency might have dozens of shared filters, but how many of them are actually relevant to you?
To share a filter with a User Group, apply the filter and click Save As. Now give the filter a name, tell Rex you want to share it with Specific User Groups and select the relevant group. Simple!
Create and edit a User Group
Here’s how you can start adding user groups.
Click Settings, then navigate to the Users & Security section (Under Other). You’ll notice a new item has appeared in the menu: User Groups. This is where the magic happens. Click it.
To create a new User Group, click + and the Add new User Group dialogue will appear.
Give your new User Group a name - say, Admin Staff - and a description if you wish. Click Create. Your new User Group will appear in the User Group table.
To add users to the group (or edit any of the info you’ve just added), click on the User Group name. You can’t miss the edit group name or add new members buttons.
To remove a member, simply click the dropdown button next to the user’s name and then Remove Member.
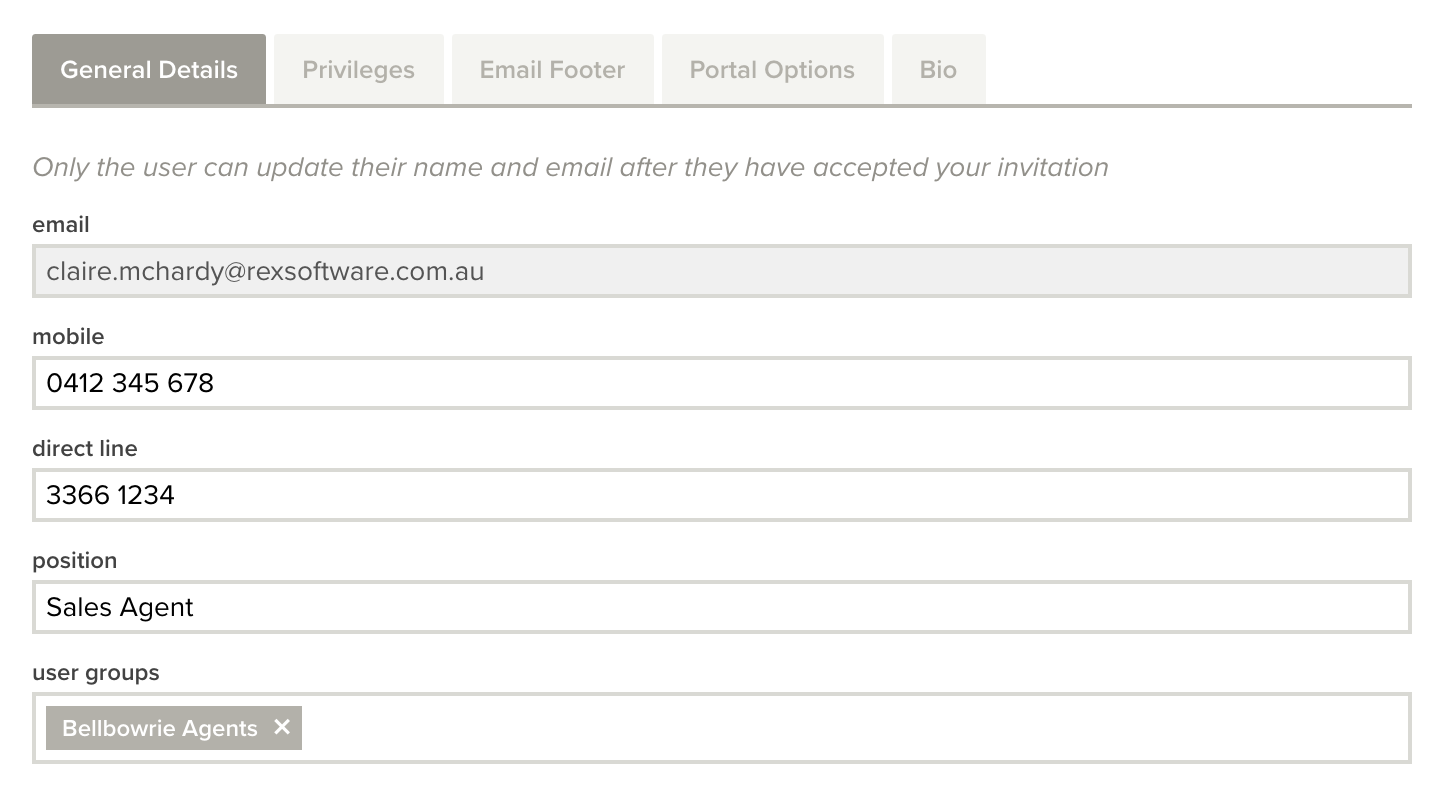
When you go to any user’s profile, you’ll see the User Groups they’re apart of listed in the user groups field - which is where the reporting categories field used to be.
Delete a User Group
You can delete any User Group except Sales.
That’s all for now, friends. Hope you’ve been paying attention - because you’re soon going to be able to do some pretty neat things with User Groups. If you like efficiency, visibility and flexibility, stay tuned.

